Captain America is in the house!
Much to my surprise, Boo decided on his own that he was going to make a Captain America shield (like any self-respecting 4 year old boy he loves all superheros equally). After the 50th time of me telling him we weren't going to buy a shield (or hulk hands, TMNT walkie-talkie, etc.) and we could make one, he actually took the initiative to make one.
Generally he only crafts with me when I come up with an idea, get everything ready, and then help him with it. And then it lasts for about 5 minutes (unless it is painting - he loves that). Somehow the deep desire to get crafty all the time must have skipped over him.....
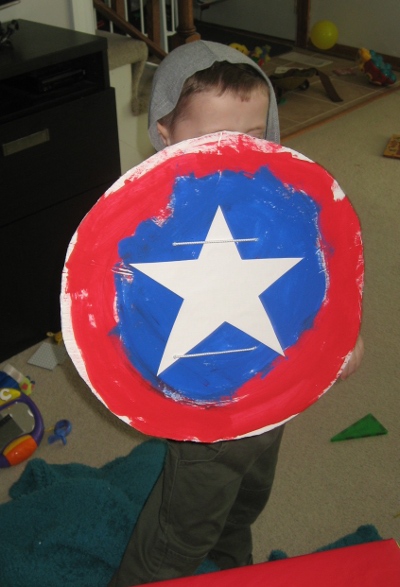
On this day though, he got out the paints from the old library card catalog file where we keep them and the foam board and said "Let's make a shield". How can I say no to that? Is it fancy? No, but I am so proud of him making the effort to create what he wanted and that he plays with it. (Please disregard the giant mess around him in the photo. Theoretically it is clean under the toys - I have just given up picking them up several times a day. OK. You got me. SOMETIMES it is clean under the toys!)
Want to make your own? Here is what we used:
- Foam Core Board
- Acrylic Paint (non-toxic recommended for little ones)
- Cardstock
- Vegetable Cutting Mat (optional)
- Hot Glue
- Para Cord - 2 pieces about 10" lengths
- Spring Locks (optional, but nice to tighten/adjust straps)
Paint and cut out the shield (either order would work) on the foam core board. We used classic blue and red color scheme. I used our kitchen shears to cut it out, but a hot knife would probably work best (I think there is going to be one on my birthday list). HINT: Sometimes it works to half cut the foam board from both sides and pop it out- requires a little practice. Cut out a star from the cardstock and glue on the front after the paint is dry.
We glued the vegetable cutting mat on the back to add extra strength to the foam board and to keep the holes for the cord from tearing during use. This is also called a flexible cutting mat - I got ours in a two pack from Dollar Tree - they don't always have it so check back if they don't. First, find something to make holes in the mat. Technically my hole punch would have worked great except it wouldn't punch in the middle where I needed it. I ended up using the point of a steak knife. It's not pretty, but someone was getting anxious to use his shield. If you have an anywhere-on-the-page circle hole punch and a more patient child, try that! Make sure the holes are positioned so that it holds on the arm by the elbow and in the hand (4 holes total).
String through the cord (we went over the front for extra stability, but it does sacrifice looks - ours has to survive lots of battles everyday!). Hot glue the mat on the foam core and cut excess from the sides if required. Add spring locks to cord. These allow him to adjust the fit of the cord tighter while playing, then he can loosen to take it off. Then PLAY!
Have questions or comments on the tutorial? You can contact me through the Contact Button or my Facebook Fan Page.