Playroom Wall Art, Part 2

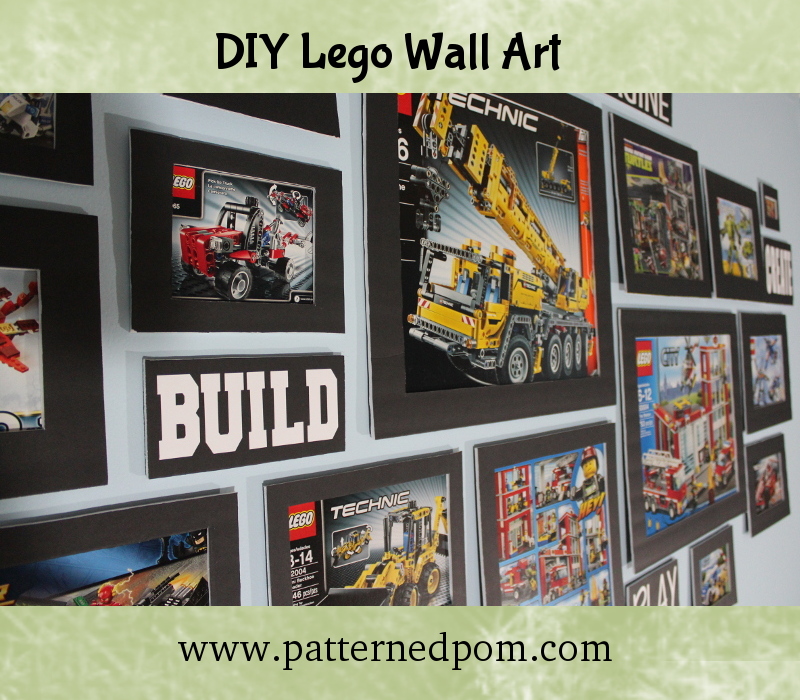
Now that you all know how to frame your Lego boxes (or other art) from Part 1, here is the incentive to actually take on this project! I worked on this project for the better part of a year from conception to actual completion, so I am excited to share it with you today!
The only additional supply you will need for this part is a way to hang them. I didn't want to put nail holes in the walls, so I opted for Command Picture-Hanging Strips. Fast and easy and no millions of little nail holes when the boys grow out of the Lego phase or I convert the basement to another use. Please note that you stick the strips together to hang, so you will only get 12 hangers out of the package of medium strips, but as a bonus it does allow a little bit of repositioning if you don't get it up perfectly the first time.
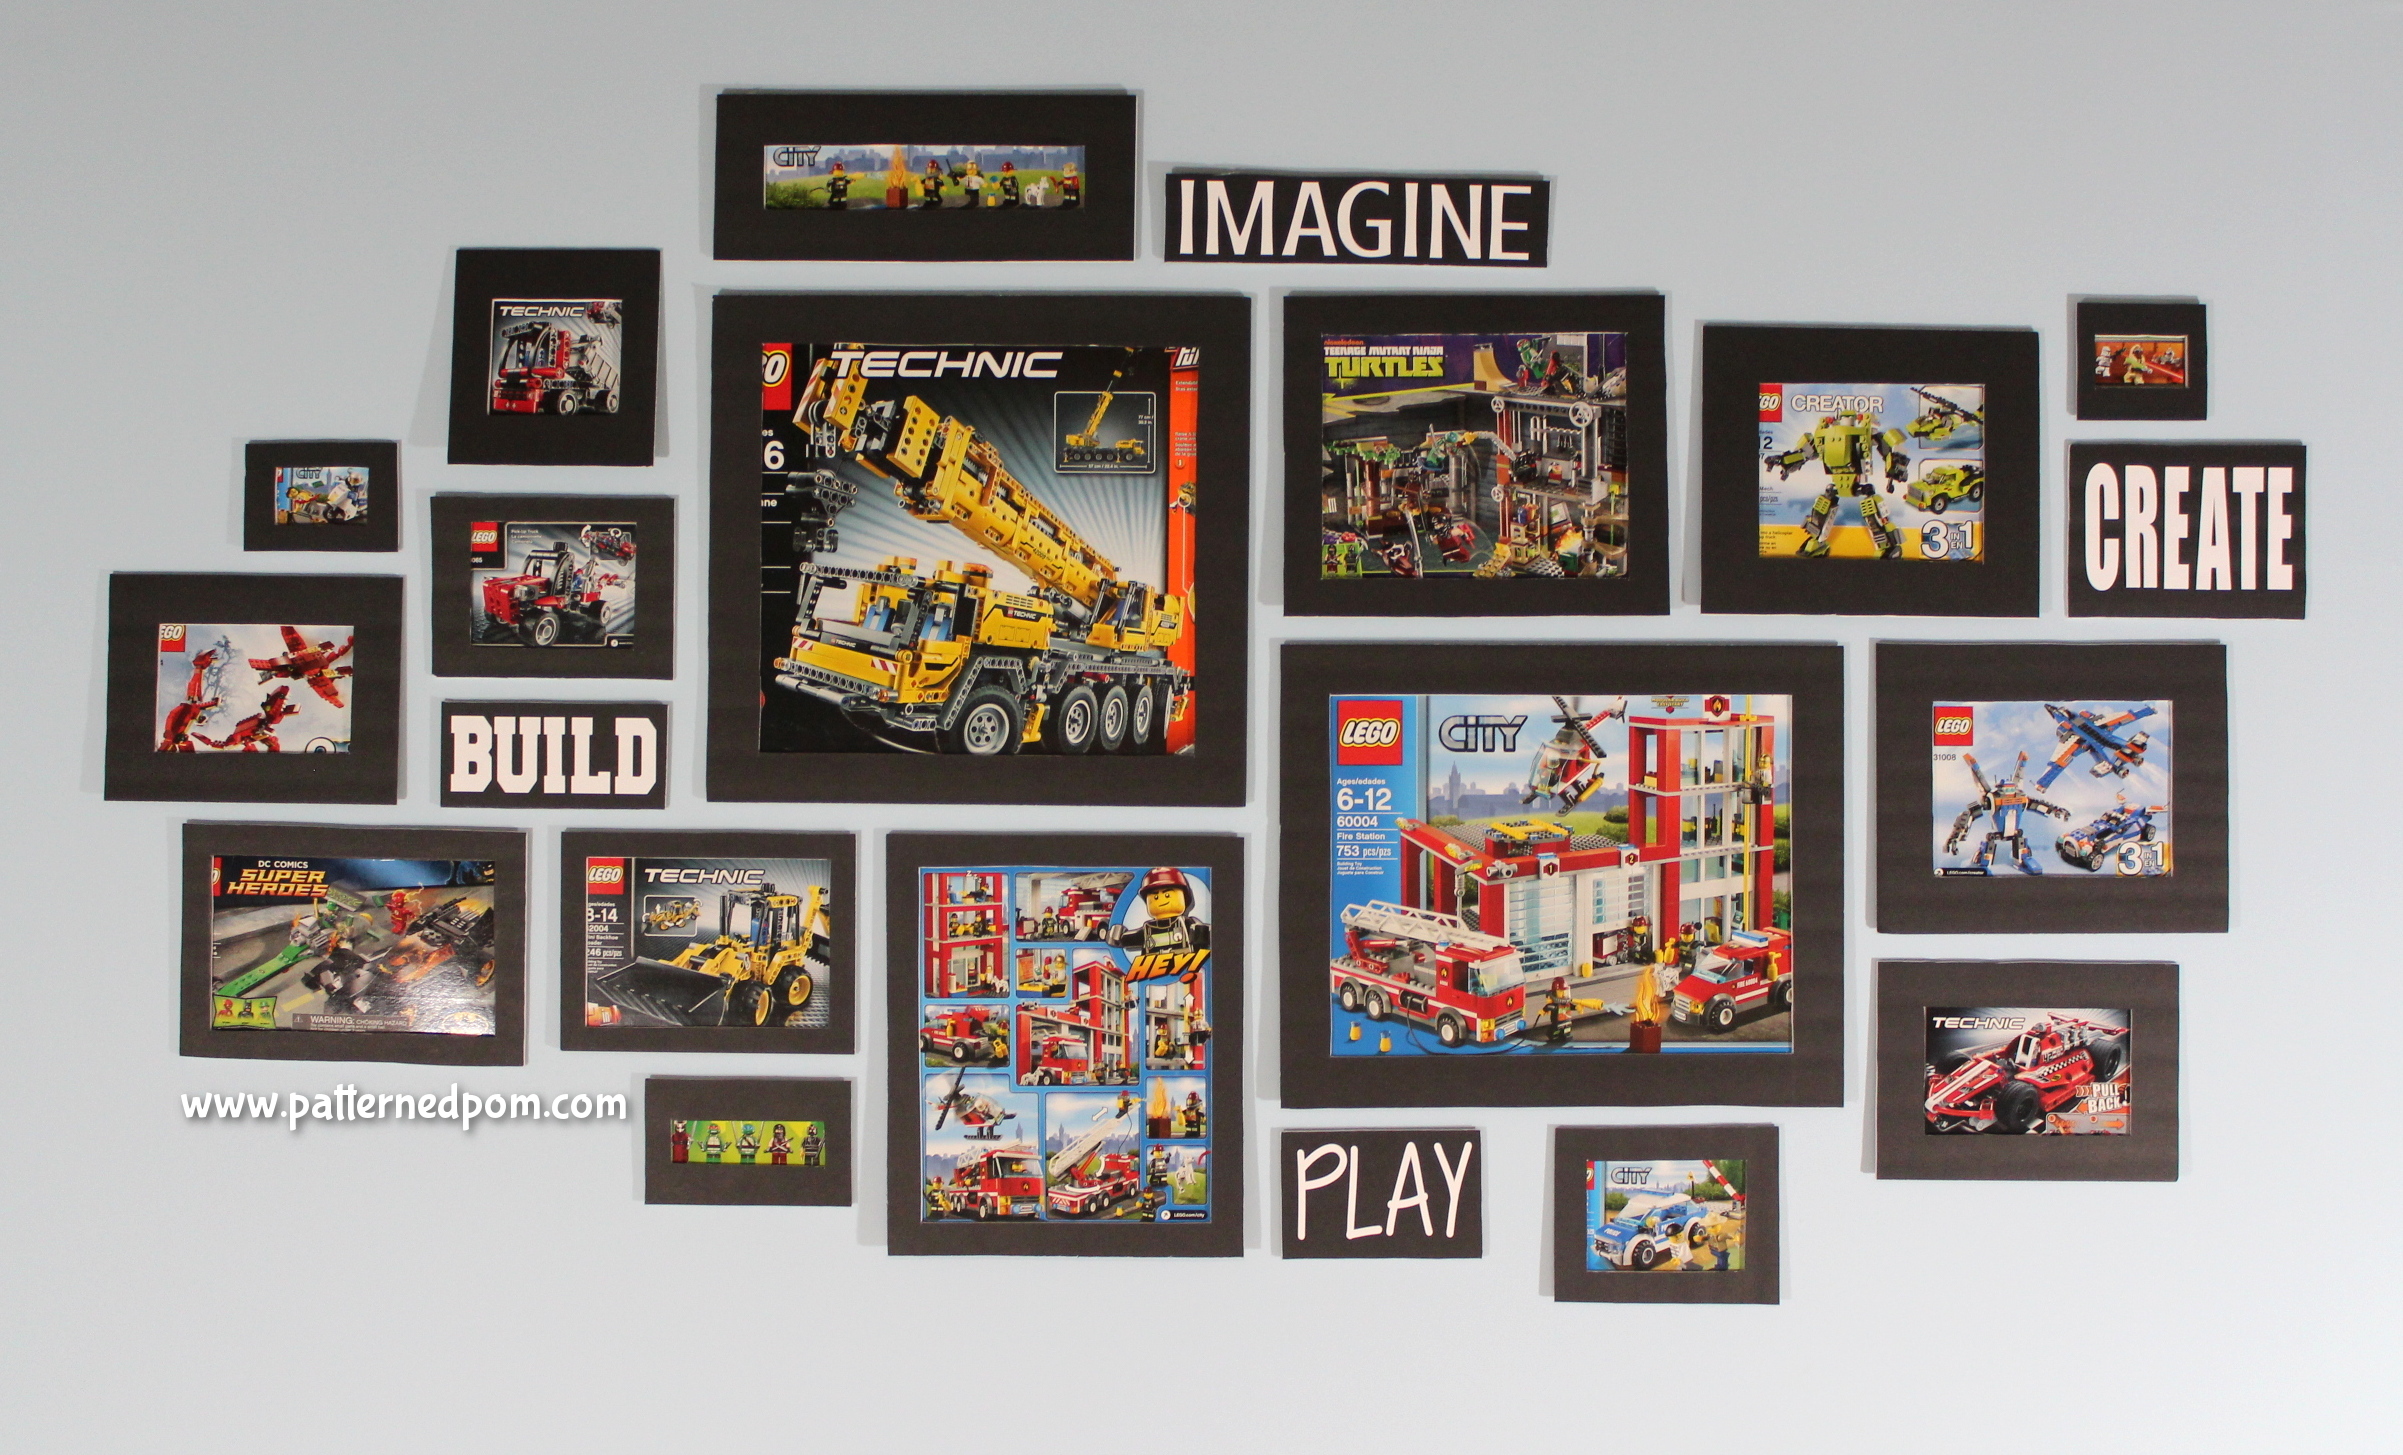
Anytime I work on a gallery wall layout, I always lay it out on the floor to arrange and rearrange until I am satisfied with how it looks. Make sure it fits your wall space too! I only did four changes for this one, so either I am getting better or I really knew what I was going for! I opted for a more free form placement of the frames so I could add to it if we got any neat boxes later. You will also see a few words I added in. These are just scraps of interior pieces of foamcore from the framing of the art with 80 lb cardstock letters glued on (I cut on my Silhouette electronic cutting machine).

Once you know your placement, add the strips to the back of each. I used two on the larger frames and one on the rest. A couple seemed to be bending out after I hung them, so I may have to go back and tack them down with another on the bottom. Carefully hang on the wall, following the instructions on the package. Then stand back and enjoy your new fun Playroom Gallery Wall Art!
{This post includes one affiliate link. I only link to items that my husband and I actually own, use, and love.}
